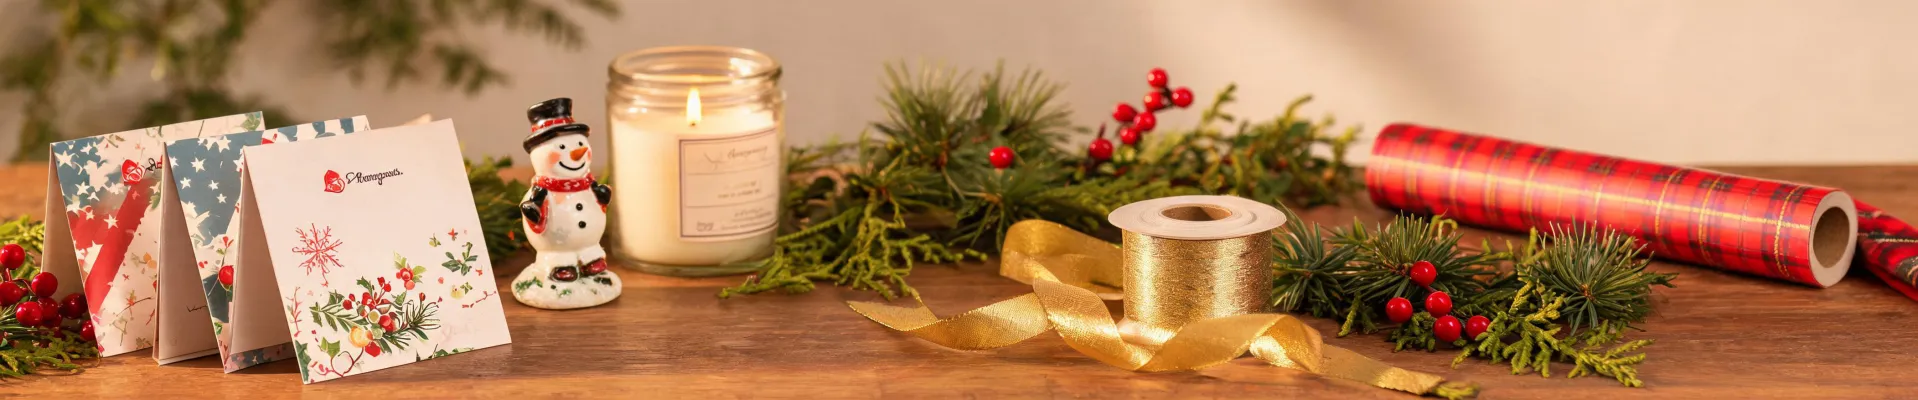
I've managed purchasing budgets for six years, and candles never made it onto my cost-tracking radar until recently. That changed when I started documenting burn hours on the jar candles we order through the American Greetings corporate gifting program. We send them out quarterly with gift boxes, a small ornament, and a handwritten note — which means I'm the one accountable for whether they actually perform.
I had about an hour before a client appreciation event last spring, with a fresh box of candles I hadn't tested. Normally I'd burn a sample for a full first-burn cycle before approving a batch, but there was no time. I lit one, watched it for an hour, and hoped the rest behaved the same way. They didn't all behave. That's when I started tracking burn data seriously — and it's when I landed on the question that brings most people here: how far down should you burn a jar candle?
Short answer: stop when about 1/2 inch of wax remains in the bottom. Everything below that line pushes the glass past its limits. But that's the final step. To get a candle to that point without wasting 20% of it, follow this five-step checklist I've built from tracking every candle we've burned since that questionable batch.
Step 1: Commit to a Proper First Burn
The first lighting sets the pattern for the entire life of a jar candle. You need the full top layer of wax melted — all the way to the jar's edges — before you blow it out. That takes 2 to 4 hours for a standard 8-ounce jar.
I know a 2-hour commitment is annoying. But if you light it for "just a few minutes" and create a small melt pool, you've started a tunnel. The next burn sinks deeper into that hole, the outer wax never melts, and you lose up to a quarter of the candle's total weight to an unusable ring of wax.
We weighed the leftover wax from tunneled candles in our office that first quarter. We lost an average of 22% of the total wax to tunneling. That's a $5 waste on a $24 candle. Do that across a dozen gifts and you've thrown away the cost of two full candles.
Step 2: Trim the Wick Before Every Single Lighting
Wick height is a cost issue. An untrimmed wick burns with a taller flame, which consumes wax faster and produces more soot. Soot streaks the jar, the shelf, and the ceiling — and it makes a gift candle look cheap within two hours.
Trim the wick to about 1/4 inch before each burn. The nail scissors in your drawer will probably work fine. If the tip has a mushroomed carbon cap, pinch it off. That's the whole job.
I still kick myself for skipping this on our first batch. We gifted candles that looked perfect in the box, but by hour two, sooty streaks were forming on the jars. One ended up on a manager's desk, visibly streaked, and I noticed every time I walked past. Nobody complained — but a client gift shouldn't give people a reason to look twice.
Step 3: Cap Each Burn Session at 4 Hours
According to National Candle Association safety guidelines (current as of January 2025), you shouldn't burn a candle for more than four hours at a time. With jar candles specifically, longer sessions heat the glass beyond what it's built to handle. The wax pool deepens, heat concentrates near the base, and over multiple long burns, the glass can develop hairline cracks. A cracked jar is a total loss — and a safety risk if it fails when nobody's watching.
There's also a fragrance cost. Overheating accelerates the evaporation of the fragrance oils suspended in the wax. Burn a candle hot for six hours once, and the second half of its life might barely smell at all. You paid for that scent. Don't cook it out.
Step 4: Watch the Burn Environment
This is the step everyone forgets because it's not about the candle itself. Drafts are the problem. A jar candle near a window, vent, or ceiling fan will flicker unevenly, which means:
- Uneven melting — one side of the melt pool runs deeper than the other
- More soot — a flickering flame is a dirty flame
- Faster burn — taller flame, more wax consumed per hour
In our office, the candle sitting directly under an air vent burned about 15% faster than an identical candle across the room. Same candle, same jar, different cost per burn hour. If you're placing jar candles as part of a home decor setup — and let's be honest, that's half the point of a jar candle — give them a spot without directed airflow.
Step 5: Know When to Stop — the 1/2 Inch Rule
Back to the main question: how far down should you burn a jar candle?
Stop when about 1/2 inch (roughly 12mm) of wax remains. That usually lands around the 75% to 80% consumed mark. Here's why that's the right stopping point:
- Glass integrity. With less wax to soak up the heat, the base of the glass gets hotter with each session. The heat stress can crack the jar — sometimes a slow hairline crack that seeps wax onto furniture, sometimes worse.
- Wick behavior. A short wick in a thin wax pool drowns. The flame sputters, flares, and produces uneven burn patterns.
- Chimney effect. As the empty space above the flame grows, the jar walls trap heat like a chimney. That concentrated heat is exactly what causes dramatic jar failures.
I had a close call with this last year. Someone burned a break room candle well past the safe mark, and when I picked it up, the glass bottom had a visible crack. So glad I caught it before the wax leaked all over the table — and that incident is now in our safety notes.
Once the candle hits the 1/2 inch mark, don't try to milk it further. Let it cool, then either repurpose the jar as a desk holder or melt the remaining wax out using a warm water bath. Never put a glass jar on the stove or in the microwave.
Common Mistakes and Notes
To be fair, some candles tunnel even when you do everything right — wick quality, wax blend, and jar geometry all play a role. That's why we pay attention to how candles perform over their full lifespan, not just the first burn.
Other common issues I've seen in our own orders:
- Skipping the wick trim. "It looks short enough" is exactly what causes the mushroomed wick and soot problem. Trim it anyway.
- Trimming the wick down to a nub. There's a sweet spot. At 1/8 inch or shorter, the wick can't draw wax properly and drowns. Keep it near 1/4 inch.
- Burning to the very bottom. The last half-inch of wax is not "free product." It's the safety margin between fine and fire hazard.
And if you're shopping for corporate gifts, I'll add a note on packaging: we order the American Greetings shirt gift boxes for client packages, and the reviews are accurate — a standard 8-ounce jar candle plus a small ornament fits inside with room for crinkle paper. It's a small detail, but it's made our packaging process noticeably smoother.
The One-Card Checklist
Here's everything, condensed to a card you can tape to a supply cabinet or screenshot on your phone:
- First burn: 2–4 hours, until the melt pool reaches the jar edges. Non-negotiable.
- Wick: trim to 1/4 inch before every lighting.
- Session length: max 4 hours. Relight tomorrow.
- Placement: no drafts, no vents, no high-traffic zones.
- Stop when 1/2 inch of wax remains. Repurpose the jar or dispose of it safely.
If you've been burning jar candles down to the smoky bottom, the good news is that you don't have to. The candle is done at the 1/2 inch line — and everything before that line is where you get your money's worth if you follow the steps above. In my experience, the simple habits are the ones that get skipped, and in candle care, they're also the ones that cost the most.

Elise Laurent
Elise Laurent is a crystal and decorative glass quality analyst covering crystal figurines, vases, ornaments, suncatchers, and gift glassware. She examines ISO 6486-1 where food-contact glass dinnerware applies, then uses polarized strain inspection, dimensional checks, surface-defect grading, and refractive clarity to compare decorative pieces outside that scope. Her work helps sourcing teams choose materials, finishing routes, and protective packaging without confusing visual brilliance with verified durability.